How to update Palladio documentation
We welcome contributions to Palladio, including fleshing out documentation and tutorials, and would love to hear how you are using Palladio. Below is a brief tutorial explaining how to update the tutorials (including this one!) or add your own testimonial.
Palladio’s library and components are publicly available on GitHub. To make a change, you will need a github account. All changes can be done from the command line or an app - this tutorial will include links to github’s lessons on each step, along with a guide to where files are stored within the Palladio file structure.
To make a change to humanitiesplusdesign/palladio, you will
- Fork the repository
- Move to the gh-pages branch
- Make your changes (see below for which files to update)
- Submit a pull request
- Wait for your changes to be accepted & then see them on the site!
All palladio files are stored in a “Palladio” folder, and processed using Jekyll. Formatting is done via markdown. The following sections will show where to add or update a tutorial, and how to add a testimonial.
Add or Update a Tutorial
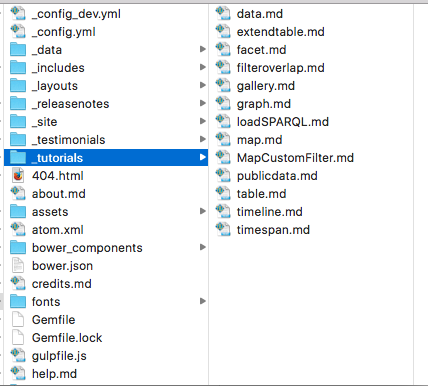
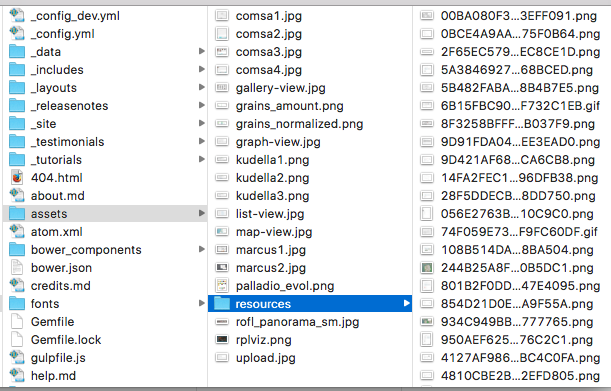
Tutorial files are stored in /_tutorials in the Palladio folder. Screenshots and other resources are located under /assets/resources. So to update this tutorial, you would open /_tutorials/updatedocumentation.md, make any desired changes, then save the file.

To create a new tutorial, begin with the standard header
---
layout: post
title: [Your Title Goes Here]
collection: tutorials
---
Then create your page and save it in the /_tutorials folder You can link an image in the /assets/resources folder, as shown below


Add a testimonial
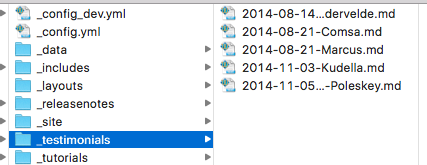
Testimonials are stored in /_testimonials in the Palladio folder. So to add a new testimonial, begin with the standard header
---
layout: post
title:  [Your Title]
author: [author information]
date:   [date in yyyy-mm-dd hh:mm:ss format]
category: palladio
published: true
tags: front
excerpt: [Brief description]
---
Then create your page and save it in the /_testimonials folder

You can link an image in the /assets/resources folder, as shown below

